
How to Use Grammarly on Android (2026 Setup, Features, and Real Tips)
By SM Mehedi Hasan
To use Grammarly on Android, install the Grammarly app from the Google Play Store, open it, then grant the display-over-apps and accessibility permissions. A floating widget appears inside any text field and checks your spelling, grammar, clarity, and tone in real time, while also offering AI rewrites as you type.
If you have been searching for how to use Grammarly on Android, you have probably noticed something confusing. Half the guides tell you to enable a Grammarly keyboard, and the other half mention a floating widget.
Both can’t be right at the same time, and that confusion is exactly why so many people give up halfway through setup. So let me clear this up before we touch a single setting.
Table Of Contents
What Is Grammarly for Android and How Does It Work?
Grammarly for Android is a writing assistant that checks your text for grammar, spelling, clarity, and tone across almost any app where you type.
Instead of replacing your keyboard, it now runs as a floating widget that sits on top of your screen and reads the text you are typing in the text field. Here is the part most older articles get wrong. Grammarly used to ship as a standalone keyboard that you had to switch to.
That keyboard is being discontinued, and the new “Grammarly for Android” product works with your existing keyboard, whether that is Gboard, the Samsung keyboard, or SwiftKey. You keep the keyboard you already love, and Grammarly layers its suggestions on top.
But the engine behind it has grown a lot. Grammarly’s parent company rebranded to Superhuman in late 2025, and the Android app now pulls in generative AI rewrites, not just red-underline corrections.
So you are getting tone detection, full-sentence rewrites, and quick rephrasing options on a phone, which used to be a desktop-only luxury.
If you are coming from the desktop or browser version, this matters because the mobile experience is no longer a stripped-down cousin. It is closer to the real thing than ever before.
How Do You Install Grammarly on Android?
- Open the Google Play Store on your Android phone or tablet.
- Type Grammarly in the search bar and look for the listing named Grammarly – AI Writing Assistant (the developer now shows as Superhuman Platform Inc.).
- Tap Install and wait for the download to finish.
- Tap Open, or find the green Grammarly icon in your app drawer.
- Sign in with Google, Apple, Facebook, or create a free Grammarly account.
One thing worth checking before any of this: your device needs Android 9.0 or newer. Older phones simply will not run the current build, and the Play Store usually hides the app on incompatible devices rather than clearly warning you.
Pro Tip: Sign in with the same account you use on desktop or the browser extension.
Your personal dictionary, language preference, and Pro status sync across devices, so words you have already taught Grammarly to ignore won’t get flagged again on mobile.
How Do You Set Up Grammarly on Android After Installing?
- Open the Grammarly app and tap Get Started.
- When prompted, tap Open Settings to allow Grammarly to display over other apps.
- Toggle the permission on, then return to Grammarly.
- Grant Accessibility access when asked, since this is how the widget reads the text field you are writing in.
- Set your English dialect to American (US) if your audience or writing is US-based.
- Tap Done, and the floating widget is now active.
Why does Grammarly ask for accessibility permission? Because it needs to see the text inside whatever app you open, so it can check it.
That sounds invasive, and it is fair to be cautious, but it is the same mechanism every floating grammar tool on Android relies on. Without it, the widget has nothing to read.
Most people stall right here. They skip the accessibility toggle because the warning screen looks scary, then wonder why Grammarly never appears. Grant both permissions, and the rest is smooth.
How to Use Grammarly on Android Once It’s Set Up
Open any app where you type, such as Gmail, WhatsApp, Messages, LinkedIn, or Notes, and tap on a text field. The floating Grammarly widget shows up automatically. Start typing, and it begins working in the background.
Here is what happens as you write:
- Common typos get auto-corrected, and the widget tells you what it changed.
- Other issues show a suggestion count next to the widget icon.
- Tap the widget to open the suggestion list, then tap a suggestion to accept it.
- To dismiss something you don’t want, tap the bin icon, and it disappears.
When I was firing off a quick reply in WhatsApp, the widget caught a missing comma and a clunky phrase in the same sentence, and accepting both took two taps without leaving the chat.
That speed is the whole point of the mobile version. And if the widget ever feels like it is in the way, you can shrink it, make it more transparent, or move it. More on that below.
How Do You Use Grammarly's AI Rewrites on Android?
- Long-press the text you want to improve until the selection handles appear.
- Drag the handles to cover the full sentence or paragraph.
- Tap Improve it in the menu (it only shows when two or more words are selected).
- Pick a rewrite prompt, such as shorten, sound more formal, or fix grammar.
- Type your own instruction in the custom prompt field if none of the presets fit.
- Tap Insert to replace your original text with the rewrite.
Compared to the simple spell-check most people expect on a phone, this feels like a different tool entirely. You can rewrite a rambling message into something tight before you hit send, all inside the app you are already in.
Honestly, I expected the rewrites to feel generic on mobile, the way many AI features do when squeezed onto a small screen.
They didn’t. The prompts that adjust length and formality were the ones I reached for most, especially when turning a casual draft into a client-ready email on the go.
How Do You Customize Grammarly on Android?
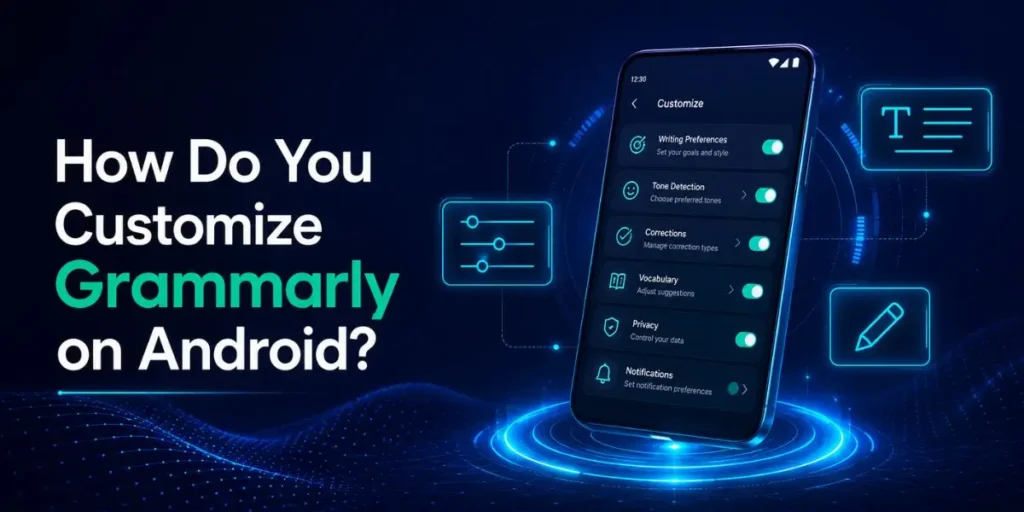
Open the Grammarly companion app and head into its settings. You get real control over how the assistant behaves:
| Feature / Setting | Functionality | User Benefit / Use Case |
|---|---|---|
| Widget size and transparency | How big and visible the floating icon is | Keeps it from blocking your text |
| Compact display | Shows only the suggestion number | Less clutter while typing |
| Blocked apps | Where Grammarly is allowed to appear | Privacy in banking or password apps |
| Quick toggle | On/off from the notification shade | Fast switching without opening the app |
| Language dialect | US, UK, AU, CA, or IN English | Correct spelling for your audience |
Most people never open this menu, which is a mistake. Adding your banking app and password manager to the blocked list is a smart privacy move, since you almost never need grammar checking there anyway.
And the quick toggle in the notification shade saves you from digging through settings every time you want Grammarly to back off for a minute.
Pro Tip: If you write for a US audience, set the dialect to American (US) right away. Grammarly will then flag British spellings like “color” or “organize” as errors, which is exactly what you want when your readers are stateside.
Grammarly Android Free vs Pro: What’s the Difference?
The free plan does more than people assume, but the AI features have hard limits. Here is the honest split as of 2026:
| Feature | Free Plan | Premium Plan |
|---|---|---|
| Grammar, spelling, punctuation | Yes | Yes |
| Tone detection | Yes | Yes |
| AI prompts per month | 100 | 2,000 |
| Full-sentence rewrites and clarity | Limited | Full access |
| Vocabulary and formality control | No | Yes |
Grammarly Pro (formerly Premium) costs $12 per month billed annually, which works out to $144 per year. Monthly billing runs $30, and the quarterly option sits at $60 every three months, or about $20 monthly.
There is no separate mobile price, so your Pro subscription covers Android, desktop, and browser together.
If you only fix typos in texts and emails, the free tier is genuinely enough. The moment you start leaning on AI rewrites every day, you will hit that 100-prompt ceiling fast, and that is when Pro starts to make sense.
In My Experience
The thing that surprised me most was how the floating widget handled battery.
After using it for about a week on a mid-range phone, I noticed the Grammarly accessibility service kept getting killed in the background, and the widget would silently stop appearing. No error, no warning. It just went quiet.
The fix turned out to be a battery setting, not a bug. Android’s aggressive power saving was shutting down the accessibility service to save juice. Once I set Grammarly’s battery usage to Unrestricted, the widget stayed reliable all day.
That single setting is the difference between Grammarly feeling broken and feeling dependable, yet almost no reviews mention it.
One more thing I ran into: drafts you create inside the companion app are stored only on that device. They do not sync, and they get wiped if you log out or reinstall.
I lost a half-written note that way before I learned to copy anything important out immediately.
What Are the Common Pitfalls When Using Grammarly on Android?
A few mistakes trip up almost every new user. Knowing them upfront saves a lot of frustration:
- Skipping the accessibility permission. This is the number one reason the widget never shows. Grammarly cannot read your text without it, so the floating assistant simply stays invisible.
- Letting battery optimization run wild. Android quietly kills the accessibility service to save power. Set Grammarly to Unrestricted battery usage, or the widget will keep vanishing mid-session.
- Expecting the old keyboard. If you see a message that the Grammarly Assistant is not enabled, you are likely still on the discontinued keyboard.
Switch to your normal keyboard and let the new floating widget take over.
- Assuming drafts are safe. Companion-app drafts live on one device and disappear on logout or reinstall. Copy anything you care about into a real notes app.
- Trusting it for plagiarism on mobile. The Android app has no plagiarism checker. You need the web or desktop version for that, so don’t rely on the phone for academic originality checks.
Each of these stems from the same root cause: people treat the Android app like a simple keyboard add-on, when it is actually a system-level assistant that needs the right permissions and power settings to function properly.
Grammarly Android Workflow Example (Real Scenario)
Here is a full flow showing how it actually works, start to finish, using a freelance reply as the example.
Input: You open Gmail on your phone to answer a client. You type: “Hi, I received your message, and I will get back to you soon with the updated files. Thanks.”
Process: The floating widget flags three things at once: the misspelled “recieve,” the missing capital letters, and the missing punctuation.
You tap the widget, accept the spelling and capitalization fixes, then long-press the whole sentence and tap Improve it. You choose the “sound more professional” prompt.
Output: Grammarly returns: “Hi, I received your message and will follow up shortly with the updated files. Thank you.” You tap Insert.
Result: A sloppy one-line reply becomes a clean, professional message in under ten seconds, without leaving Gmail or switching keyboards. The client sees a polished sender, and you never had to proofread manually.
That loop, type, then fix, then rewrite, then send, is the core habit that makes Grammarly on Android worth keeping installed.
Is Grammarly for Android Worth It in 2026?
For most people who write a lot on their phones, yes. It catches the small errors that slip through when you type fast with your thumbs, and the AI genuinely raises the quality of quick messages and emails.
But it is not for everyone. If you mostly send short, casual texts to friends, the constant suggestions can feel like nagging, and your default keyboard’s autocorrect already handles the basics.
The app earns its place when your phone writing has stakes, like client emails, job applications, LinkedIn posts, or anything where a typo costs you credibility.
Unlike what some reviews claim, the free version is not a useless teaser.
It covers real grammar and spelling, which works fine. The paid tier is about volume and depth of AI help, not unlocking basic functionality.
So try the free plan first, write the way you normally do for a week, and upgrade only if you keep bumping into the prompt limit.
Frequently Asked Questions
Yes. The free plan covers grammar, spelling, punctuation, tone detection, and 100 AI prompts per month. Pro unlocks advanced rewrites and 2,000 monthly prompts for $12 per month billed annually.
Usually, it is a missing permission or a battery setting. Confirm the display-over-apps and accessibility permissions are on, then set Grammarly’s battery usage to Unrestricted so Android stops killing it in the background.
No, not anymore. The new Grammarly for Android works as a floating widget alongside your existing keyboard, so you can keep using Gboard, Samsung Keyboard, or any other keyboard you prefer.
No. The Android app does not include a plagiarism checker. You need to use the Grammarly web editor or desktop app to scan documents for originality.
It works in nearly any app with a text field, including Gmail, WhatsApp, Messages, and LinkedIn. You can also block specific apps, such as banking or password tools, so they don’t appear.
Is an SEO Specialist and AI Tools Researcher with over 4 years of hands-on experience in search engine optimization. As the founder of Smart AI Helper Pro, he tests and reviews AI writing, SEO, and marketing tools to help creators and business owners grow faster with practical, research-backed strategies.