
How Do I Use Grammarly in Word? A Complete 2026 Guide
By SM Mehedi Hasan
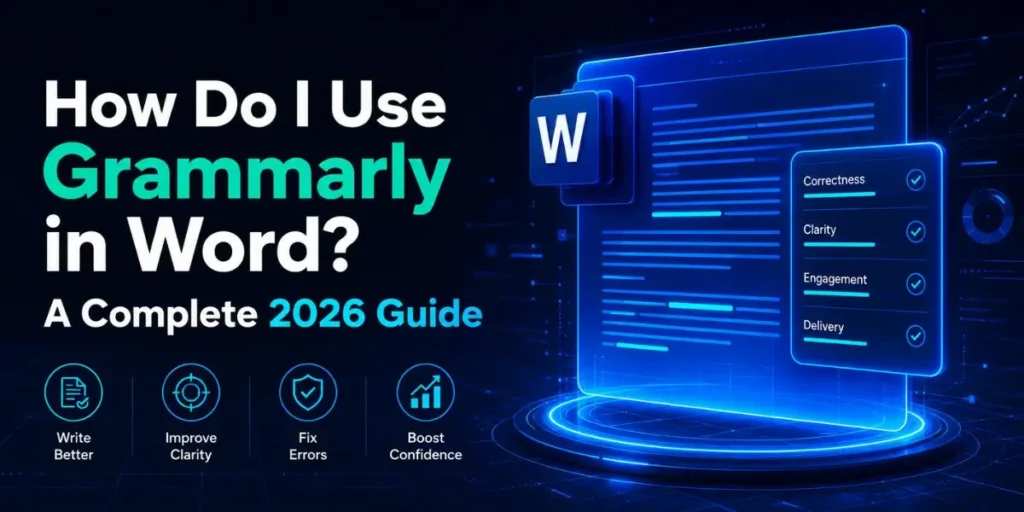
To use Grammarly in Word in 2026, install the Grammarly desktop app for Windows or Mac instead of the old Office add-in, which Grammarly is now retiring.
Once installed, open Word and start typing. The floating Grammarly widget automatically checks your grammar, spelling, and tone in real time.
If you searched “how do I use Grammarly in Word” and landed on a guide that told you to click Insert, then Add-ins, you found the outdated method.
That route is being shut down. This guide shows you the way that actually works in 2026, on both Windows and Mac, with the real steps I followed myself.
Table Of Contents
What Is Grammarly for Microsoft Word?
Grammarly for Microsoft Word is a writing assistant that checks your document for grammar, spelling, punctuation, clarity, and tone as you type.
It runs through the Grammarly desktop app for Windows or Mac, which layers its suggestions directly on top of Word without you needing to copy text anywhere.
Here is the part most articles still get wrong. For years, Grammarly worked as an Office add-in you installed from inside Word.
That add-in is being retired and no longer gets updates or support. The desktop app replaced it, and it does more than the old plugin ever did.
So if your old Grammarly tab vanished from Word, you did nothing wrong. The product changed under you.
How Do I Use Grammarly in Word in 2026?
You use Grammarly in Word by installing the Grammarly desktop app, which then connects to Word automatically.
The old in-Word add-in (Insert > Add-ins > Grammarly) is being discontinued, so the desktop app is the correct path going forward. Most people assume you still add Grammarly from inside Word like any other plugin.
Not anymore. Grammarly confirmed it is retiring the Grammarly for Microsoft Office add-in, and the Mac version of that add-in has been discontinued entirely.
The replacement is Grammarly for Windows and Grammarly for Mac, which sit on your system and work across Word, Outlook, and most desktop apps. One naming note that confuses people.
In late 2025, Grammarly’s parent company rebranded itself as Superhuman. The writing tool you install is still called Grammarly.
The logo, the widget, the experience inside Word, all of it keeps the Grammarly name. Only the parent company changed.
Pro Tip: Before you install anything, check your setup. Grammarly for Windows needs Office 2016 or newer on Windows 10 or 11.
If you run older software, skip the desktop app and use the Grammarly web editor at app.grammarly.com or the browser extension instead.
How to Install Grammarly for Word on Windows
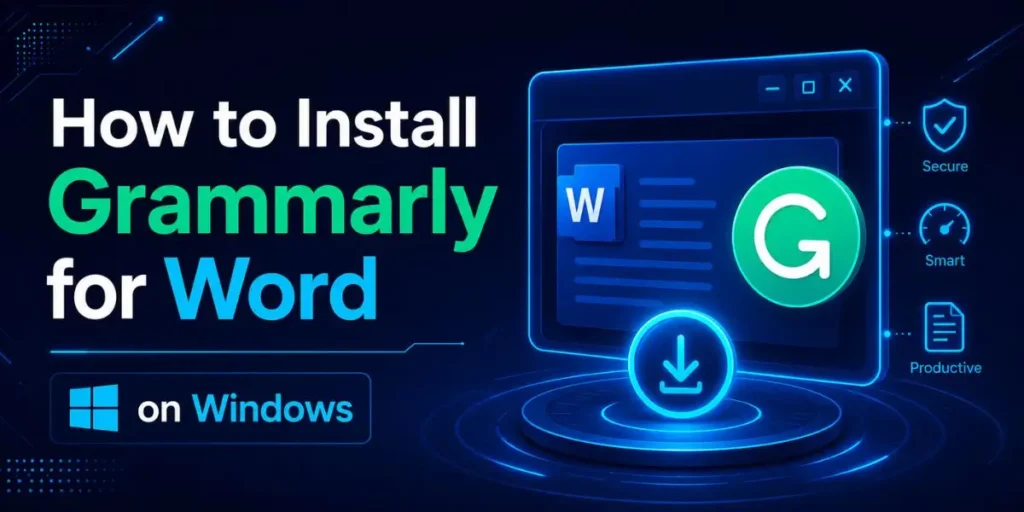
- Go to the official Grammarly desktop download page at grammarly.com/desktop and download Grammarly for Windows. This pulls the correct installer instead of the old Office add-in, so you don’t end up at a dead end later.
- Open the downloaded file and follow the on-screen prompts. The installer runs quickly and asks you to sign in or create a free account.
After this, Grammarly lives in your system tray at the bottom-right of your screen.
- Open Microsoft Word and start typing. Once you type, a small floating Grammarly widget appears near your text. Seeing that widget means the connection worked, and Grammarly is now reading your document live.
- Sign in if the widget asks. Logging in unlocks your full feature set, especially if you pay for Pro. Without signing in, you only get the basic free checks.
After step three, you should see colored underlines under questionable words and a circular Grammarly badge showing your suggestion count. That badge confirms that everything is running.
And here is why the order matters. If you install Word add-ins first and waste time hunting for “Grammarly” in the Office store, you will either find nothing or find the deprecated version. Starting at the desktop download page skips that whole mess.
How to Install Grammarly for Word on Mac
- Download Grammarly for Mac from grammarly.com/desktop. This is critical because the separate Grammarly Word add-in for Mac was discontinued, so the desktop app is your only supported route now.
- Open the downloaded file and follow the installation prompts. Mac may ask for permission to let Grammarly assist other apps. Granting it is what allows Grammarly to read your Word text.
- Look for the Grammarly icon in your menu bar at the top of the screen. Its presence there indicates the app is installed correctly and running in the background.
- Open Word, begin typing, and watch for the floating widget. When it appears, Grammarly is actively checking your document, and you can start accepting suggestions.
The Mac flow feels nearly identical to Windows, with one notable exception. Mac users sometimes need to approve Grammarly in System Settings, then Privacy and Security, before the widget shows up.
If nothing appears after install, that permission screen is usually the reason.
How Do You Turn On and Use Grammarly Inside Word?
You turn on Grammarly in Word by simply typing, since the desktop app activates automatically after installation. There is no on-off switch buried in a menu. The widget appears the moment you start writing.
Here is how to actually work with the suggestions once they show up:
- Type or paste your text normally. Grammarly underlines issues as you go, using different colors for grammar, clarity, and tone. This live feedback is the whole point: you fix problems while writing, not after.
- Click any underlined word or the floating widget. A card pops up explaining the issue and offering a fix. Reading the short explanation teaches you the rule, not just the correction.
- Accept a suggestion by clicking it, or dismiss it if you disagree. Grammarly is a coach, not a boss. You stay in control of your voice, and ignoring a suggestion is completely fine.
- Open the full Grammarly panel for a document overview. This shows your performance score, all issues by category, and tone signals. Use it before you send or submit anything important.
After working through these, your document fills in clean. The underline is clear, the suggestion count drops to zero, and you get a tidy summary of what changed.
Honestly, the live underlying is the feature I lean on most. Catching a missing comma the second I type it beats running a separate check at the end, every time.
What Features Does Grammarly Add to Word?
Grammarly brings a full layer of writing intelligence into Word that the built-in Editor cannot match. The desktop app also unlocks several tools that the old Office add-in never had.
| Feature | What It Does in Word |
|---|---|
| Real-time grammar and spelling | Underlines errors live as you type |
| Clarity and conciseness | Rewrites wordy or confusing sentences |
| Tone detection | Flags if your writing sounds off for the audience |
| Generative AI prompts | Rewrites, improves, or translates selected text |
| Plagiarism detection | Checks your document against web sources (Pro) |
| Authorship tracking | Shows if text was typed, pasted, or AI-generated |
That last row is the sleeper feature. Authorship tracking tells you the origin of any passage, which matters a lot in 2026 when teachers, editors, and clients increasingly ask whether text was written by a human or a machine.
The generative AI also handles five extra languages for suggestions, including Spanish, French, Italian, German, and Portuguese. So if you draft in Word across languages, you no longer need a second tool.
In My Experience
The thing that surprised me most was how invisible the setup felt after install. I expected to fiddle with Word menus and toggle settings.
Instead, I opened a blank document, typed one messy sentence on purpose, and the widget caught a subject-verb error before I finished the line.
While drafting a client proposal, the tone detector quietly flagged that two paragraphs read as “uncertain.” I had not noticed it myself. I rewrote them firmer, and the proposal landed better.
That single nudge changed how I review my own confidence in writing. One limitation I ran into.
The plagiarism check and heavier AI prompts live behind the Pro plan, so on the free version inside Word, you mostly get core corrections. Useful, but not the full picture if originality reports matter to you.
Free vs Pro: Which Grammarly Works Best in Word?
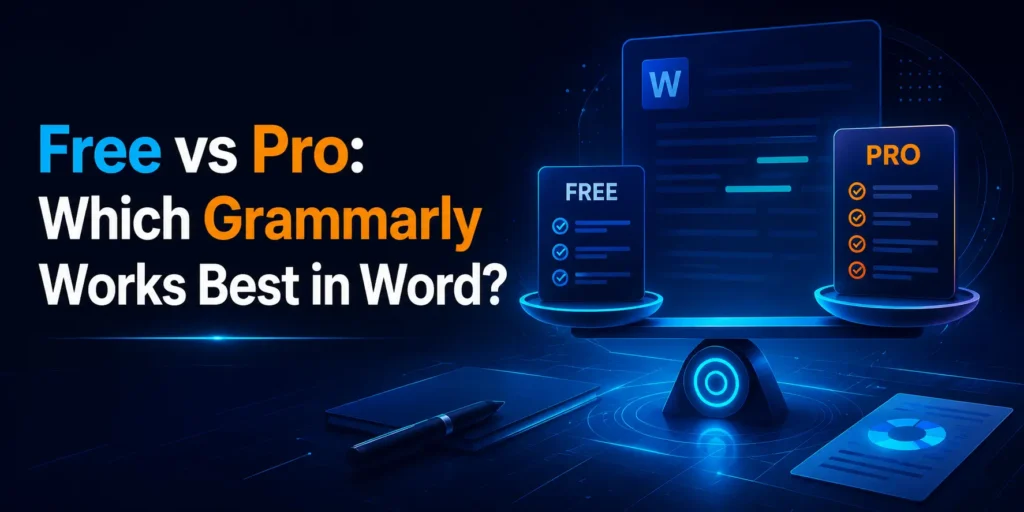
The free version of Grammarly works fully inside Word and covers grammar, spelling, punctuation, and basic clarity.
Pro adds advanced rewrites, plagiarism detection, tone tuning, and far more AI prompts. As of 2026, the choice comes down to how much you write and what is at stake.
| Plan | 2026 Price | Best For |
|---|---|---|
| Free | $0 | Basic checks, light writing, 100 AI prompts monthly |
| Pro |
$12/mo annual, $30/mo monthly |
Professionals, students, heavy writing |
| Enterprise | Custom quote | Teams and organizations |
A couple of pricing notes worth knowing. Grammarly renamed its paid tier from “Premium” to “Pro,” so old reviews quoting “Premium” mean the same product.
The standalone Business plan was folded into Enterprise, and Pro now supports teams of up to 149 members.
Compared to what I have tried before, the free tier inside Word is more generous than most rivals’ free plans. You get real corrections, not a teaser. But the moment you need plagiarism reports or unlimited rewrites, Pro earns its keep.
Pro Tip: Do not pay monthly if you write regularly. The annual Pro plan drops the cost to roughly $12 a month versus $30 month to month. That gap adds up fast over a year of writing.
What Are Common Pitfalls When Using Grammarly in Word?
Most problems people have with Grammarly in Word stem from using the old add-in method or skipping a permission step. These mistakes are easy to avoid once you know why they happen.
- Hunting for the old Word add-in. Many guides still say Insert > Add-ins > Grammarly. That version is being retired, so you will either find nothing or have to install an unsupported version. Use the desktop app instead.
- Skipping the Mac permission screen. On Mac, Grammarly needs accessibility approval to read your text. Miss it, and the widget never appears. Check Privacy and Security in System Settings.
- Expecting Pro features on a free account. Plagiarism checks and heavy AI prompts are paid. New users assume Grammarly is broken when it’s simply locked.
- Running outdated Office. Grammarly for Windows needs Office 2016 or newer. Older versions force you to the web editor, and people waste time troubleshooting a setup that was never supported.
- Forgetting to sign in. The widget can appear while you are logged out, showing limited checks. Signing in unlocks everything tied to your plan.
Each of these comes from the product changing faster than the tutorials online can keep up with. So when something feels off, check the date on whatever guide you are following.
Workflow Example: Cleaning a Document With Grammarly in Word
Here is a real flow I use when polishing a draft, broken into Input, Process, Output, and Result, so you can copy it exactly.
Input: A 1,200-word blog draft in Word, written fast with typos, a few run-on sentences, and an uneven tone that drifts between casual and formal.
Process: With Grammarly running, I read top to bottom and accept the obvious spelling and punctuation fixes first.
Then I open the full panel, sort by Clarity, and rewrite every flagged run-on. Last, I checked the tone signal and smoothed the two paragraphs marked as inconsistent.
Output: A clean draft with zero grammar underlines, tightened sentences, and a consistent, confident tone throughout. The Grammarly score climbs from the low 70s to the low 90s.
Result: A document ready to publish in about fifteen minutes of editing instead of forty. The clarity rewrites alone saved the most time, because spotting my own wordy sentences is the part I am worst at.
That fifteen-minute number is not a promise for every document. Longer or messier drafts take more. But the order, fix mechanics first, then clarity, then tone, keeps the edit fast, no matter the length.
Frequently Asked Questions
Yes. The free Grammarly plan works in Word and covers grammar, spelling, punctuation, and basic clarity, plus 100 AI prompts monthly. Advanced rewrites, plagiarism detection, and unlimited prompts are available with the Pro plan.
Grammarly is retiring its Microsoft Office add-in, and the Mac version was discontinued. If your Grammarly tab disappeared, install the Grammarly desktop app for Windows or Mac, which replaces the old plugin and works automatically.
Yes, through the Grammarly for Mac desktop app, not the old add-in. After installing, grant accessibility permission in System Settings, then open Word and type. The floating widget confirms Grammarly is active.
For most writers, yes. Grammarly catches clarity, tone, and advanced grammar issues that Word’s Editor misses, and it adds AI rewrites and plagiarism checks. Word’s Editor handles basic spelling and grammar well enough for quick tasks.
No. The free version runs fully inside Word with real corrections. You only pay for Pro if you want plagiarism reports, advanced rewrites, tone tuning, and more AI prompts for heavier or professional writing.
Is an SEO Specialist and AI Tools Researcher with over 4 years of hands-on experience in search engine optimization. As the founder of Smart AI Helper Pro, he tests and reviews AI writing, SEO, and marketing tools to help creators and business owners grow faster with practical, research-backed strategies.